Nexus 7 Gets Official Android 4.1.2 Jelly Bean Update with JZO54K ROM [How to Install]

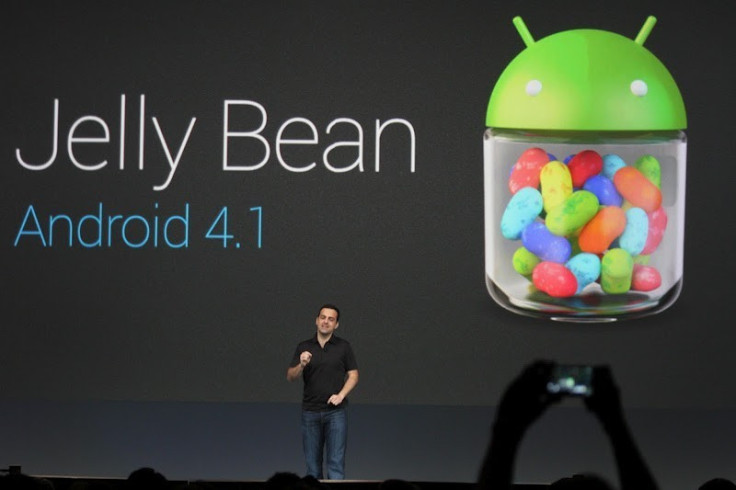
Nexus 7 owners are in for a special treat as Google's flagship tablet becomes the first Android device to get the latest Jelly Bean update, Android 4.1.2. The latest Android update is the result of yet another custom ROM, JZO54K, which brings a host of new feature enhancements, bug-fixes and improvements to the tablet.
The new Android 4.1.2 update is now available for OTA (over-the-air) download from Google. However, those who cannot access the official OTA updates for some reason can now download the same using this guide.
Key Points to Note
- The JZO54K ROM and the instructions given in this guide are applicable only to the Google Nexus 7 device. It will not work on any other device. Verify your device's model number by navigating to Settings > About phone.
- IBTimes UK advises users to back up apps, important personal data and settings to avoid data loss while installing the JZO54K based Android 4.1.2 Jelly Bean update.
- Ensure that the correct USB drivers are installed for your Nexus 7 tablet to enable connectivity with the computer. Download Google Nexus 7 USB drivers.
- Enable USB debugging mode by navigating to Settings > Applications > Development and check the USB debugging option. This feature supports connectivity between your Android tablet and the computer.
- Verify that your tablet's battery is at least 85 percent charged to prevent unexpected device shutdown while flashing the JZO54K custom ROM or installing the latest Android 4.1.2 Jelly Bean update.
- Make sure that your Nexus 7 device is factory unlocked and should be running on the previous official update - JRO03D based Android 4.1.1 update - before installing this firmware update. Verify the firmware version installed on your tablet by navigating to Settings > About tablet.
- Please note that the JZO54K firmware can be upgraded on both rooted and non-rooted versions of Nexus 7.
How to Install JZO54K Based Android 4.1.2 Official OTA Update on Nexus 7 [For Non-Rooted]
Step 1 - Download JZO54K Based Android 4.1.2 (03a4eaf95f73.signed-nakasi-JZO54K-from-JRO03D.03a4eaf9.zip) ROM for Nexus 7 on your computer and rename it as update.zip.
Step 2 - Connect and mount your Nexus 7 USB mass storage on your computer using an USB cable.
Step 3 - Copy the update.zip file to the root folder your SD card.
Step 4 - Power off your tablet and boot into bootloader mode.
Step 5 - To do so, power on the phone through a button sequence. Press and hold the Volume Up and Power buttons together until the fastboot menu and START pop up on the screen..
Step 6 - Follow the onscreen navigational instructions. Tap Volume Up button several times till the CWM Recovery option pops up. Then press Power button to select it.
Step 7 - You will see an exclamation mark now. Again press and hold Volume Up and Power buttons together until your device boots into Recovery Mode.
Step 8 - Choose update from SD card and click update.zip file. Then select it with the Power button. The ROM installation should now begin.
Step 9 - After the ROM is installed, the tablet will reboot and the first boot may take about 5 minutes to complete. So, leave it alone.
JZO54K ROM based official Android 4.1.2 Jelly Bean update is now successfully installed on your Nexus 7. Go to Settings > About tablet to verify the firmware version installed.
Prerequisites [For Rooted]
- Make sure that your Nexus 7 device is rooted and ClockworkMod (CWM) recovery is installed on it before proceeding with this Jelly Bean update.
- Also, ensure that you have rooted your tablet with official JRO03D based Android 4.1.1 Jelly Bean update before continuing with the JZO54K ROM installation steps.
How to Install JZO54K Based Android 4.1.2 Official OTA Update on Nexus 7 [For Rooted]
Step 1 - Download JZO54K Based Android 4.1.2 Official OTA Update for Nexus 7 on your computer.
Step 2 - Connect and mount your Nexus 7 USB mass storage on your computer with an USB cable.
Step 3 - Copy the JZO54K based Android 4.1.2 ROM zip file to the root folder on your SD card.
Step 4 - Power off your phone and boot into bootloader mode.
Step 5 - To do so, power on the phone using a button sequence. Press and hold the Volume Up and Power buttons until the fastboot menu and START button pop up on screen.
Step 6 - Follow the onscreen navigational instructions. Tap the Volume Up button several times until the CWM Recovery option pops up and then press Power button to select it.
Step 7 - In CWM recovery, navigate to flash zip from SD card option and tap the power button to select it.
Step 8 - Hit the Power button once again and click choose zip from sdcard.
NOTE (Optional): You may have to turn OFF signature verification from the toggle signature verification option.
Step 9 - Now, use volume keys to browse and locate Android 4.1.2 ROM zip file and select it by tapping the Power button. Confirm the ROM installation on next screen and the installation procedure should begin.
Step 10 - After the ROM is installed, hit Go Back and select reboot system now from the Recovery Menu. The phone will reboot now and the first boot may take about 5 minutes to complete. So, leave it alone.
JZO54K ROM based Android 4.1.2 Jelly Bean update is now successfully installed on your Nexus 7. Go to Settings > About tablet to verify the firmware version installed.
[Source: Team Android]
© Copyright IBTimes 2025. All rights reserved.


