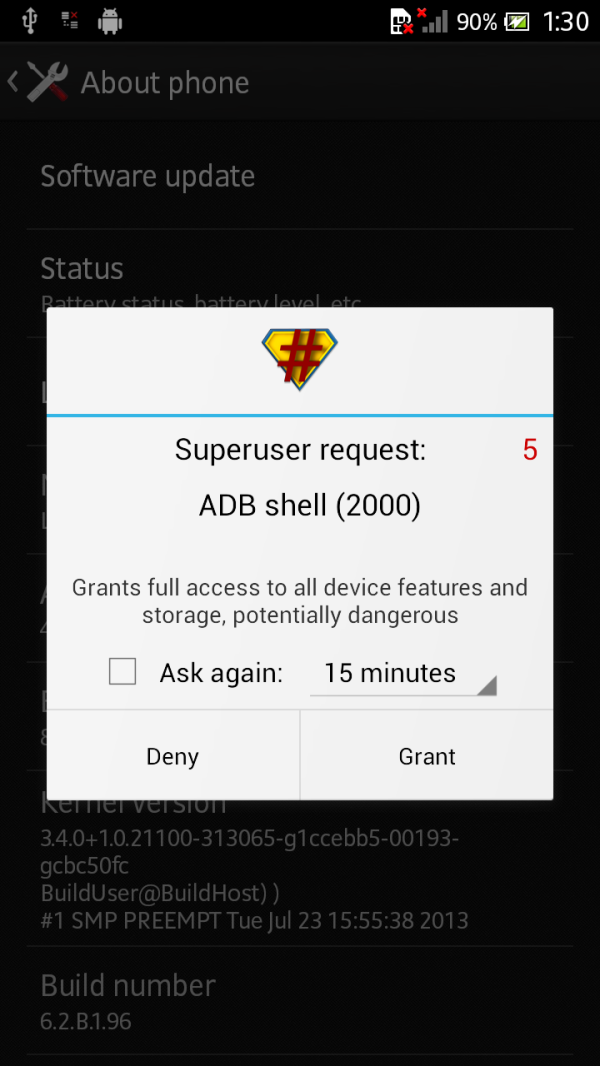
Root Xperia S Running Official Android 4.1.2 (6.2.B.1.96) OTA Firmware [GUIDE]
Sony rolls out latest Android 4.1.2 (6.2.B.1.96) Jelly Bean OTA firmware

Sony recently rolled out its latest Android 4.2.2 stock firmware (6.2.B.1.96) for Xperia S via Over-The-Air (OTA) update. The update reportedly patches the perf-event exploit which enabled root access on previous stock firmware (6.2.B.0.211).
In other words, those who rooted their Xperia S on Sony's previous firmware will have to root the device again (using our guide), in order to be able to install third-party root apps, custom ROMs and system tweaks on the handset.
There is still no word if a simpler one-click root toolkit would be made available for the handset by XDA Recognised Developer, DooMLoRD. However, Xperia S LT26i users can enjoy root access on both locked and unlocked bootloaders, thanks to the recently released DooMLoRD rooting tool.
NOTE: Instructions provided in this guide are meant for reference purpose only. IBTimes UK will not be held liable for any device damage during or after firmware installation. Users are advised to proceed at their own risk.
Pre-Requisites

- DooMLoRD Rooting tool and instructions provided in this guide works on Sony Xperia S LT26i model only. Do not attempt this root method on any other model as it may permanently damage or hard brick the device. Verify the device model number by navigating to Settings > About Device > Model Number
- Root method used in this guide requires a Windows-based computer or laptop.
- Download and install Xperia S USB drivers via PC Companion for Windows on your computer.
- Enable USB Debugging mode on phone by navigating to Settings > Developer Options (if running Android 4.0 or later) or Settings > Applications > Development (if running Android 2.3 or later). Otherwise, if device is running Android 4.2, then do the following:
- Go to Settings > About Phone
- Scroll to bottom of screen and select Build Number
- Tap the phone's Build Number seven times to unlock or reveal the hidden Developer Options under Settings. Then select the checkbox to enable USB debugging mode under Settings > Developer Options.
- Make sure the phone has at least 80% battery charge to prevent unexpected device shutdown (due to battery drain) while installing the ROM.
- Ensure device is unlocked (not locked to a specific carrier) with CWM Recovery installed.
Downloads
- XperiaS_LT26i_6.2.B.0.211_KernelOnly.ftf
- DooMLoRD_Easy-Rooting-Toolkit_v18_perf-event-exploit.zip
- XperiaS_LT26i_6.2.B.1.96_KernelOnly.ftf
- Sony Flashtool
How to Root Xperia S Running Official Android 4.1.2 (6.2.B.1.96) Jelly Bean OTA Firmware
1. Double-click on the downloaded Sony flashtool.exe file to install it and a flashtool folder will be created in C drive.
2. Double-click on the flashtool icon in the folder created in Step 1 to launch it.
3. Navigate to C:Flashtooldrivers folder to install Flashtool drivers. Select the checkbox for your device model and Flashmode drivers.
4. Turn on the phone and connect it to computer via USB cable. Verify USB drivers are installed correctly before proceeding.
5. Copy the two downloaded kernel zip files to flashtool/firmwares folder that you created in Step 1 on computer.
6. On the flashtool, click on the lightning icon and then click flashmode. Finally, click OK to continue.
7. A new window should pop-up. Navigate to the right sidebar and select Data, Cache and Appslog checkboxes to wipe device before flash. To preserve your device data, uncheck all the boxes.
8. Find and select XperiaS_LT26i_6.2.B.0.211_KernelOnly.ftf file in the flashtool/firmwares > source folder.
9. Hit flash button to begin flashing the kernel.
10. Follow the onscreen instructions to unplug the phone from computer and then power it off. Then boot the phone into Flash Mode by pressing and holding Volume Down button while connecting it via USB cable to computer.
11. The phone's display should remain blank at this time. Let the Flashtool run the kernel installation process and once the flashing process is done, a "Flashing finished" message will appear on screen.
12. Reboot the phone.
13. Once again connect it to computer in USB Debugging mode.
14. Close the flashtool on computer.
15. Download DooMLoRD_Easy-Rooting-Toolkit_v18_perf-event-exploit.zip and extract it to a new folder on desktop.
16. Double-click on the runme_file in the new extracted folder and the phone will get rooted.
17. Once the rooting process completes, repeat Step 4 to 12 using XperiaS_LT26i_6.2.B.1.96_KernelOnly.ftf. These steps will help in restoring the stock 6.2.B.1.96 kernel to your device.
18. Download and install Root Checker app to verify the root status on your device.
ALSO READ: Xperia Z Gets Android 4.3 Update via CyanogenMod 10.2 ROM [How to Install]
[Source: Android Teen]
© Copyright IBTimes 2025. All rights reserved.


