Diwali 2015: Your guide to making traditional Indian floor art Rangoli

With Diwali quickly approaching on 11 November, Indians across the globe are preparing for the festive season. Apart from holding prayer rituals and lighting fireworks, the Festival of Lights also sees many households decorating their courtyards with the traditional Indian art form called Rangoli.
In honour of Diwali, IBTimes UK speaks to three Rangoli experts to bring you everything you need to know about the art and how you can design it yourselves.
What is Rangoli?
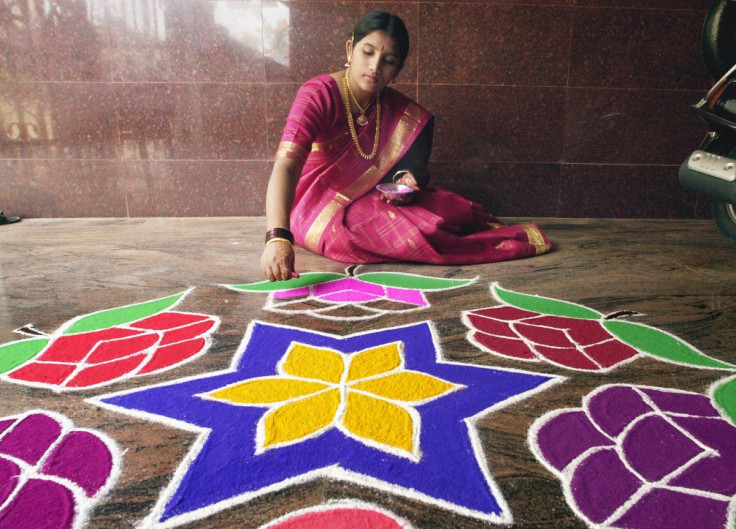
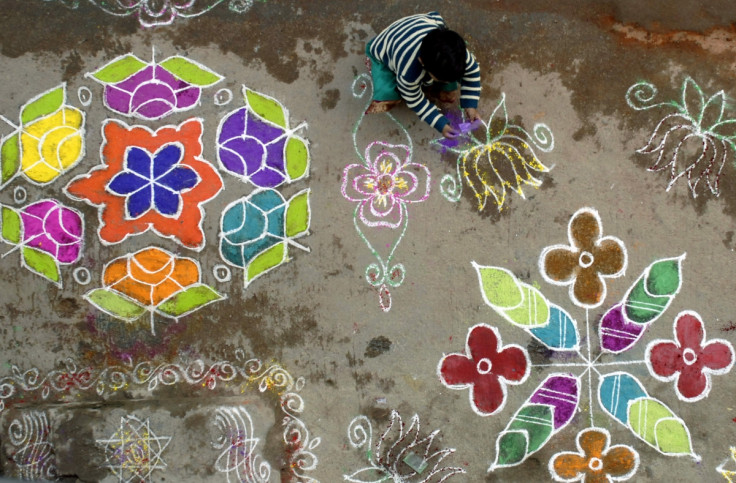
Rangoli designs are created with colourful powders and are used to decorate floors outside and inside homes during festive periods. Diwali is one of the most popular times for Rangoli, with many professionals and amateurs alike decorating their floors with vibrant designs. However, while it is certainly a great way to decorate your home, Rangoli is about more than just pretty colours on the floor.
"On the Indian subcontinent, ritual floor design is an important form of cultural, artistic and religious expression," said Ranbir Kaur, an international Rangoli artist. The word 'Rangoli' is derived from the Sanskrit words 'rang' [colour] and 'oli/aavali' [rows], with Rangoli meaning 'row of colours'. It is seen as a way to welcome family and friends to your home."
"Rangoli is reputed as being one of the most ancient and striking art forms," said Sneha Sawant, who runs Rangoli workshops in Mumbai, India. "Rangoli is a symbol of God's blessings, a symbol of wealth, joy and prosperity, and a symbol of culture and tradition. Rangoli expresses the delight of mind and it makes everyone happy."
To many, Rangoli is also believed to attract the Hindu goddess of wealth and prosperity, Lakshmi. Diwali is the time when most prayer rituals are devoted to Lakshmi, however, the goddess is also worshipped by many throughout the year. On Diwali, some families in India leave their front doors open to allow the goddess into their homes.
Seema Thobhani, an Indian woman who has run Rangoli workshops in the UK, explains the significance of the art form. She said: "Rangoli brings good luck and prosperity to the family. There is also a belief that Rangoli drawn in the courtyard prevents evil forces from entering homes."

What do you need to make Rangoli?
Although it may look complicated to those who haven't tried it before, many Rangoli designs are easy to make and don't require much to make them. While Kaur points out that the art form does require "good eye and hand coordination, patience, and concentration", the Rangoli expert also said it can be a great way to start your day, "using creative energies and thinking of prosperity".
The main ingredient used to make Rangoli is colourful powders, however, over time this has evolved to incorporate other materials. Our Rangoli experts compiled a list of everything you might need:
Coloured powder
- White powder
- A tea filter
- Oil
- A board to make the Rangoli on (a cake board is commonly used)
- Glitter powder and small mirrors (optional, for additional decoration)
Mumbai-based Sawant said: "The tea filter is an important tool to make a Rangoli. It helps to fill Rangoli colour powder on a wide area or inside a specific design area. With the help of it, the colours are filled neatly in the design."
Everyday household items to use (if you don't have coloured powder)
- Turmeric
- Cumin and fennel seeds
- Tea leaves
- Spices
- Rice grains
- Pulses
- Wheat
- Flowers
- Bath salts
- Pasta
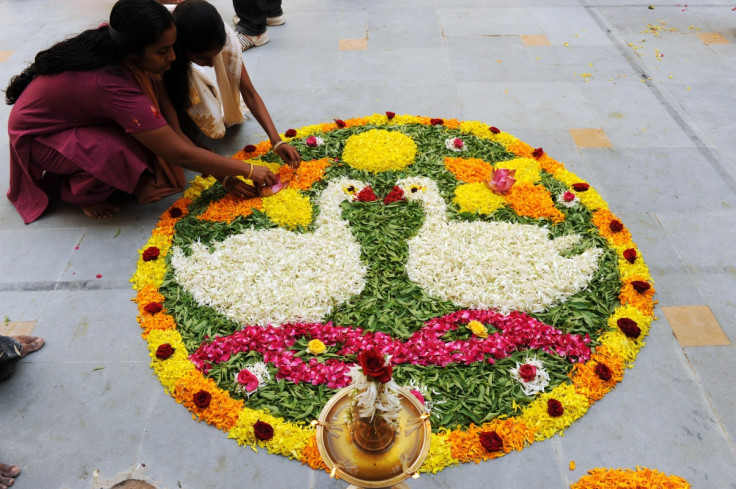
Thobhani, who has run Rangoli workshops for children, explained: "If someone doesn't have coloured Rangoli powders, they can use food colours to colour some rice at home and use this as an alternative. Coloured rice, flower petals, grains or pulses can be arranged in the shape of a flower or a diya (oil lamp) on a plate or on a cake board."

Rangoli tips from the experts
Everyone who is familiar with making Rangoli designs recommends beginners start with making geometric shapes, as this is the easiest to do when learning how to design the powders. Using diyas (oil lamps) and garlands of flowers to create a border around the designs can also help with preventing the patterns from getting ruined. It also helps to enhance the designs further.
But how exactly do you make Rangoli? Thobhani explains the technique behind using the powders. She said: "Place the powder between your thumb and forefinger and rub them together as you move along the border of the design drawn."
Our experts also had other tips on how to make your Rangoli designs last longer, with Kaur recommending using glue for smaller designs and Thobhani recommending using a cake board, which will allow you to maintain the design for as long as you like.
Thobhani added: "Rangolis can also be created on a metal dish or plate by applying a little oil in the centre of the dish and drawing a design with coloured rice powder." She also recommended buying stencils from the store to create Rangolis in a quicker and easier way.
Rangoli expert Sawant had a special tip for creating easy, but perfect, circles with the powder: "When you drop Rangoli powder on a Betal nut, it creates a ring around it which is used to create circles in Rangoli designs. To create bigger circles, one can use a pressure cooker's ring."
For those with children, Thobhani's workshops for young ones proved to be successful as she allowed them to explore their own ideas and designs for the Rangoli. She recommends giving children alternative ingredients such as flower petals and pasta that they can paint in different colours, rather than the traditional Rangoli powder, which can often get messy.
Thobhani said: "Kids generally love to explore. Make sure that the materials are all safe for them and let them draw their own design and use their own imagination to colour the pattern."

Step-by-step instructions to making a Rangoli
Seems Thobhani provided IBTimes UK with a step-by-step guide to making a Rangoli design. She loves designing Ganeshas (Hindu god) and attempts to draw a different form of the God every year on Diwali. She also enjoys drawing peacocks, which is India's national bird.
- Buy a cake board (easily available from somewhere like Poundland). Any size is fine, but a small, square board is best for first-timers.
- Paste plain, white paper on to the cake board.
- Draw your design in pencil, making sure you leave space around the edges. If it is your first time, start with a simple design.
- Apply very little oil on to your design (any cooking oil is fine).
- Work on your border first; add white colour powder to the border of your design.
- Work on the inside of your design; be creative with your colour combination and use bright colours.
- Once you have finished with your design and feel confident, you can start filling in the background.
© Copyright IBTimes 2025. All rights reserved.


