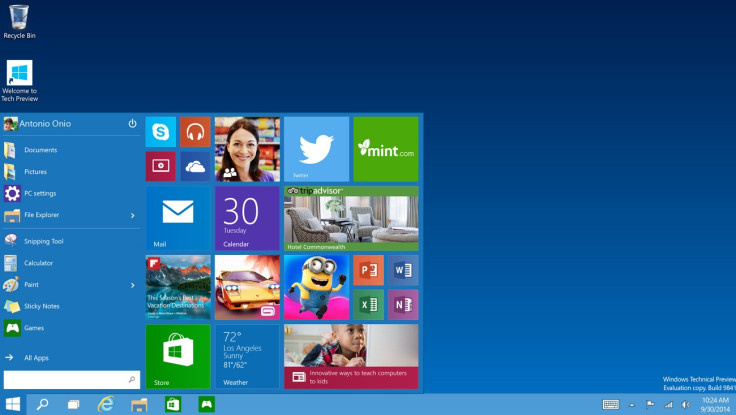
How to Get Windows 10 Technical Preview via Virtual Hard Disks

What we know so far is Microsoft's 'Windows Insider Program' gives users access to the latest Windows 10 Technical Preview. But, what about VHDs or Virtual Hard Disks?
Neowin has shared methods to create, boot and install Windows 10 using VHD. The VHDs can be created in Windows 7, Windows 8 and Windows 8.1. VHDs can be created via Computer/Disk Management Console, diskpart and PowerShell. Check out the guides below to create a VHD. You can use either of them.
Create VHD through Computer/Disk Management
Step-1: Open compmgmt as an administrator. To do so click Start then type compmgmt.msc, right click and chose Run as administrator from the drop down menu
Step-2: From Computer Management, right click the Disk Management and choose create VHD
Step-3: You will be asked to specify a location for VHD on the system
- Set the disk size (You may select 32GB)
- Choose Fixed size (which means the VHD will be of 32GB)
Step-4: Click OK
Step-5: The VHD should be attached automatically, if it is not then right click on Disk Management and choose Attach VHD
Step-6: Click Browse and choose VHD. Click OK
Or, Create VHD through Computer/Disk Management
Step-1: Open a command prompt as an administrator. Click Start, type CMD and right click on the first option and choose Run as administrator
Step-2: Type diskpart in the command prompt window and press enter
Step-3: Now type in the following command and press enter
create vdisk file=C:VHDWin10_2.vhd maximum=32768 type=fixed
Step-4: Type select vdisk file=C:VHDWin10_2.vhd and press enter
Step-5: Type attach vdisk and press enter
Step-6: Type exit and press return
Once you have the VHD ready, the next step is to install Windows 10.
How to Install Windows 10 using Virtual hard Disk
Step-1: Insert Windows 10 USB media into the laptop/desktop and then boot it
Step-2: Go through language/regional options, license confirmation and installation type screens
Step-3: When it asks where to install Windows screen, press Shift+F10 to get a command prompt window
Step-4: Type diskpart
Step-5: Add the vdisks, created in the previous step, to the list of available disks
a) Select vdisk file=D:VHDWin10.vhd
Step-6: Type attach vdisk and press enter
Step-7: Close the command prompt and refresh the list of disks
Step-8: Choose now added-to-the-list vdisk, click Next
Step-9: Wait for some time until the installation is completed, after which the operating system will appear after the system boots up
Your laptop/dekstop should now be updated with Windows 10.
© Copyright IBTimes 2025. All rights reserved.


