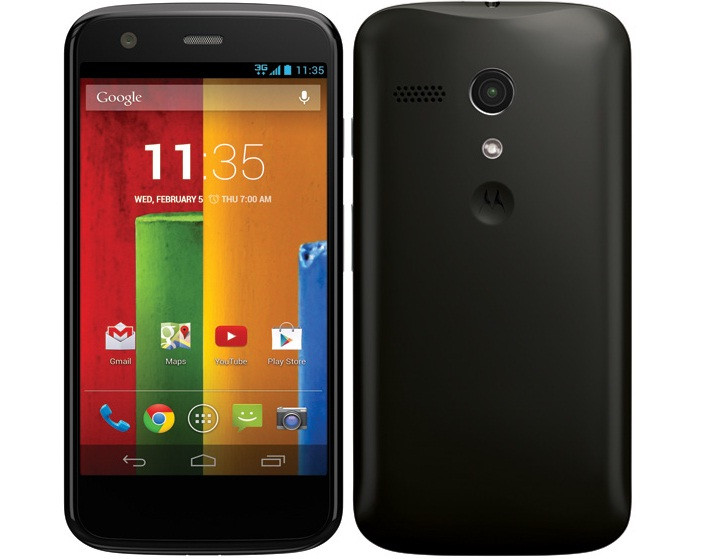
How to Restore Motorola Moto G to Stock Firmware

Moto G users, who wish to restore their devices to stock firmware if it is facing bootloop or, any other issues may follow our step-by-step guide below.
This restore method has been shared by senior XDA member, t-bon3. The developer has also shared an easy tutorial to restore the Moto G to stock firmware.
Head over to the development thread to learn more about the restoring stock firmware on Moto G.
IBTimesUK reminds its readers that it will not be held liable for any damage to the device. Also users are advised to verify their devices meet following requirements.
Pre-requisites
1) Download the stock firmware file according to the model number of Moto G. This method works only with Moto G having model numbers XT1031, XT1032, XT1033 and XT1034. Check the model number of the phone before flashing stock firmware.
2) The firmware file should have .tar.gz or, .xml.zip extension. After downloading the firmware files, extract it to the desktop.
3) If the downloaded firmware has .xml.zip extension, download mfastboot-v2.zip file [Alternative link] and extract its content in the same folder where you have extracted firmware files with .bin and .img extensions.
4) The bootloader of the phone should be unlocked.
5) Download and install the latest MotoCast for Motorola USB Drivers on the computer.
6) Download and setup ADB/Fastboot on the computer. It is recommended to download Minimal ADB and Fastboot Tool.
7) Enable USB Debugging on the phone. [Navigate to Settings>> About phone. Tap on Build Number several times until a message appears saying 'You are now a Developer.' Now enable USB Debugging Mode by navigating to Settings>> Developer Options.]
Firmware Download Links
Note: The firmware file having _umtsds' in its name are for the Dual-SIM variant of Moto G and flashing this on the single SIM model, might create network connectivity issues.
How to Restore Moto G to Stock Firmware
Step-1: Reboot the Moto G to Bootloader Mode. To do so, first turn the phone off, then press and hold Volume Down and Power buttons together for a few seconds.
Alternatively, you can boot the Moto G into Bootloader mode using ADB command. Ensure that you have enabled USB Debugging Mode on the phone. Connect it to the computer, launch Minimal ADB and Fastboot Tool, type the following command in the cmd window and press Enter
adb reboot-bootloader
Step-2: Open the folder containing the extracted firmware files and launch the cmd prompt by pressing Shift key + Right click and select Open command window here
Step-3: (a) If the firmware file has a .tar.gz extension, type the following command in the cmd window
flashall.bat /eu
b) If you are using Linux/Mac, type the following command in the windows
chmod +x flashall.sh
./flashall.sh
Wait until the firmware files are installed on the Moto G. When the installation process is completed, the phone will reboot automatically
Step-4: If the firmware files have .xml.zip extension, do the following
a) Type the following commands in the cmd window one by one and press Enter after each command line. Ensure that an OKAY message appears on cmd after executing each command
mfastboot flash partition gpt.bin
mfastboot flash motoboot motoboot.img
mfastboot flash logo logo.bin
mfastboot flash boot boot.img
mfastboot flash recovery recovery.img
mfastboot flash system system.img_sparsechunk1
mfastboot flash system system.img_sparsechunk2
mfastboot flash system system.img_sparsechunk3
mfastboot flash modem NON-HLOS.bin
mfastboot erase modemst1
mfastboot erase modemst2
mfastboot flash fsg fsg.mbn
mfastboot erase cache
mfastboot erase userdata
mfastboot reboot
The phone will now reboot automatically
Step-5: Wait for some time until the device boots up successfully.
Once the Moto G boots up, it should be running on stock firmware.
[Source: Droid Viwes]
© Copyright IBTimes 2025. All rights reserved.


