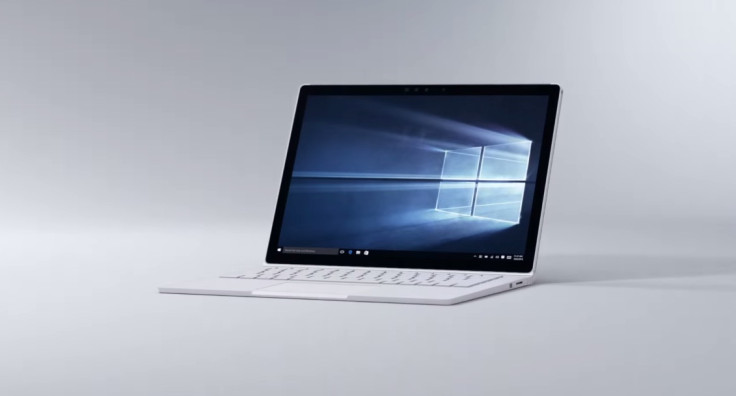
Microsoft Surface Book: How to get started with the new Windows 10 device

If you are browsing the internet to set up the Surface Book, here is an easy guide that will explain you how to get started with the new Windows 10 device. The tablet is already on sale in the US and Canada. Those in the UK can pre-order the tablet, which would start shipping on 18 February.
Set up your Surface
Press the power button of your Surface device. Once you do that, Windows 10 will guide you through the set-up process. Head over to settings and select update and security to install Windows 10. You should see the updates are all listed under Windows update. Go ahead to download and install the new Windows version. Now you need to set up Cortana, Surface Pen and Windows Hello. But if you do not want, you can always set them up later.
Set up Cortana
Once you have signed into your Microsoft account, Cortana personal digital assistant will recognise you and address you by your first name. If you do not like the name Cortana calls, you can always change it. For this, just tap Cortana, then Notebook and About Me. Now, press Change My Name and type a new one. Hit the play key to hear how Cortana pronounces your name. If the pronunciation is not correct tap, That's Wrong and try again.
Hey Cortana: You can wake Cortana by saying Hey Cortana. But you need to activate Hey Cortana for the first time. For this, tap Cortana, then Notebook and Settings, and then scroll down and tap the on button for Hey Cortana.
You can also set up Cortana to get better response to your voice. Simply tap Relearn My Voice and Cortana will ask you to say loudly six brief phrases to recognise your speech and tone.
How to pair Surface Pen with your new Surface tablet
First, make sure that your Surface device is updated. Now, install the battery in the Surface Pen. Unscrew the top of the pen (the end part with purple button) then insert an AAAA battery with its positive end pointing towards the writing tip of the pen. Finally, screw the top back on.
To pair the pen with Surface device, head over to the start menu on your tablet and select Settings>> Device>> Bluetooth and turn it on. If you are getting to see the Surface Pen in the list of discovered devices, it might not be paired. Select it from the list and remove it. Hold the top button of the Surface Pen for about seven seconds until you see the light in the middle of the pen starting to flash or the light on the flat side of the pen glows bright. At this point, your Surface tablet will re-discover the Surface Pen. When the pen appears in the list of Bluetooth devices, select it and choose Pair.
Set up Windows Hello
Set up a facial recognition-
- On your Surface device go to Settings>> Accounts>> Sign-in options and locate Windows Hello
- Select the infrared IR camera option
- A pop-up will appear saying Welcome to Windows Hello, then press the Get Started button
- When asked, set up a PIN code
- Scan your face following the on-screen instructions
- Select Finish to complete scanning. You might also select Improve Recognition to continue scanning
Set up fingerprint scanner
- Head over to Settings>> Accounts>> Sign-in options and locate Windows Hello
- Select the Fingerprint option, then set-up
- Place your finger on the fingerprint ID sensor on the type cover repeatedly
- When the set-up is complete, you will be notified.
Sign in with Windows Hello: Keep your face six-eight inches away from the lock screen of your Surface. Windows will say that it is turning the camera and then look for your face.
If you are using a fingerprint reader, place your finger on the scanner. Once Windows Hello recognises, you are ready to get started.
Apps and games
You can take advantage of the wide range of apps and games available at the Windows Store. Select the Store tile from the start menu or task bar to launch the Windows Store. Some of the recommended apps are Netflix, Pandora, Halo Spartan Strike, Minecraft:Story Mode, and Candy Crush Jelly Saga. Head over to the official Windows Blog site to know more about the Surface Book set-up.
© Copyright IBTimes 2025. All rights reserved.


