MMS sending fails on Google Nexus 6: Check out the fixes

A number of Nexus 6 users have been experiencing trouble with the MMS (Multimedia Messaging Service) messages on some carriers. Despite continuous efforts to send SMS and MMS, the messages are not delivered.
"Yes, I'm having issues. I can send a text to myself and I'll receive 12 copies of it all while the app will tell me the message never sent. I have a galaxy s3 here that is working without issue.
The issue is so consistent that I think there is something seriously wrong between Sprint's network and how the Nexus 6 is trying to send SMS. It doesn't matter what sms I use, the issue persists," confirms a Redditor.
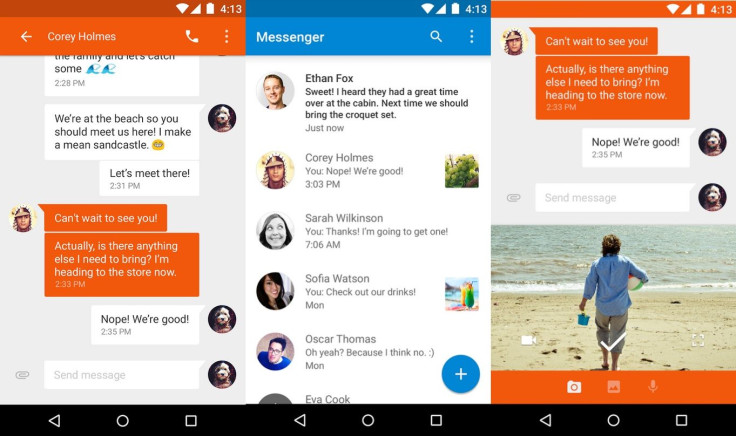
This issue is related to the Google Messenger app which comes pre-loaded with Nexus 6 and APNs (Access Point Names) used by some carriers. Don't worry if the MMS issue is causing trouble, as Android Central has shared a couple of workarounds to resolve this.
- Switch to different SMS app
To deal with this situation you can always switch to a different SMS app. Google's Hangouts app does not have any issue. You can use this app to send and receive messages, photos and even make free video and voice calls with one, or a group.
To start texting via Hangouts, open the app >> scroll to the menu panel from the right side, then tap on Settings>> SMS and tap the button at the top.
- Delete unnecessary APNs
The root cause of the issue seems to be with the Messenger being confused about the APNs to use to send an MMS. A quick fix for this is to remove extra APNs. For this go to Settings>> Wireless & networks>> More >> Mobile networks>> Access point names.
You will now get to see a list of APNs, including that of your carrier's and MVNO's (mobile virtual network operator). If you are an EE subscriber, delete everything except EE Internet and EE MMS. Tap the APN you want to delete>> tap the three dots in the top left corner>> tap delete APN.
If you happen to face an MMS issue on any other carrier network, delete the unnecessary APNs. If you want to restore all the APNs you can do so by tapping the menu button (three dots) on the APN section>> and then tapping restore to default.
© Copyright IBTimes 2025. All rights reserved.


