Moto X 2014 XT1095 Receives Android 5.0 Lollipop OTA Update, Borrows Ambient Display from Nexus 6

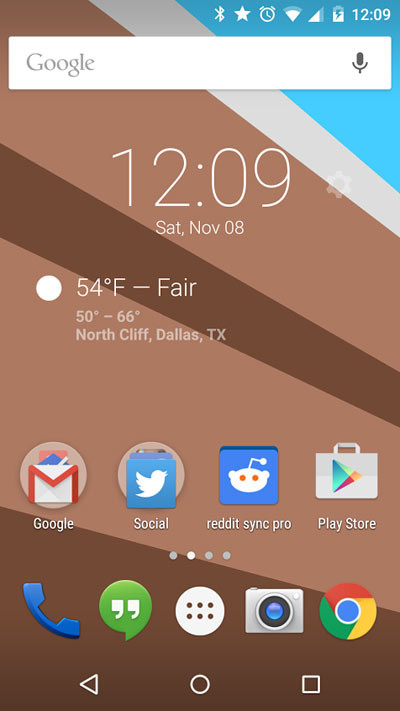
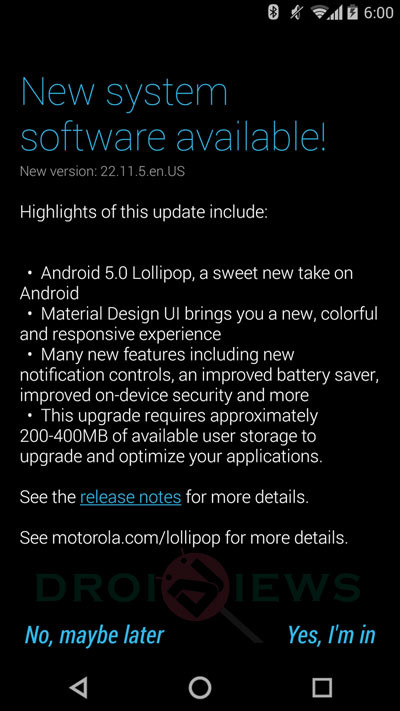
Motorola has just rolled out its first Android 5.0 Lollipop OTA update for Moto X (2014) Pure Edition devices as part of preview release for users in its soak test programme.
The Lollipop OTA update has apparently been leaked/uploaded by a user graffixnyc via XDA forums and is now available for free download to the public, ahead of Motorola's public release.
With due credit to Kellex at Droid Life, a quick video overview has been uploaded to YouTube, which depicts Moto X (2014) XT1095 running the new Lollipop ROM with its Ambient display feature borrowed from Nexus 6.
The Ambient display feature reportedly brings better grayscale view and more stunning visuals than the native Moto display.
Check out the first look at Ambient Display feature from Nexus 6 in the video (below):
Meanwhile, the internet is abuzz with news of early access to Android 5.0 Lollipop on Moto X 2014 devices as Motorola has officially beaten Google in the race to release the first OTA update for Android 5.0 Lollipop.
The catch is that the new Lollipop update can be installed only on non-rooted Moto X devices, which means you may not be successful if you have already rooted the device and altered the factory settings.

Unrooting the Moto X and reverting back to stock recovery has so far yielded mixed results as some users have reported errors while flashing.
Those who wish to give a shot at updating to the latest Android flavour on their unrooted devices can use the ADB sideload commands for installing the update manually (courtesy of Droid Views).
IBTimes UK reminds readers that it will not be held liable for any damage to device during or after the firmware installation. Users are advised to proceed at their own risk.
Pre-requisites

- The instructions given in this guide are meant for the Moto X 2014 Pure Edition with model number XT1095 only. Verify device model number by navigating to Settings > About Phone.
- Ensure the phone has at at least 80% battery chargeto prevent unexpected device shutdown (due to battery drain) while installing the ROM.
- Back up data and settingsusing a recommended custom recovery tool, like ClockworkMod (CWM) or TWRP, as it creates a complete image of the existing phone setup. In Recovery, choose Backup and Restore and tap Backup.
- Verify correctUSB driversfor the phone are installed on the computer (download Moto X USB drivers).
- Ensure that the device is rooted with TWRP recovery installed and its bootloader is unlocked.
Downloads Required
Android 5.0 Lollipop OTA Update: Download
ADB file: Download
Steps to Install Android 5.0 Lollipop OTA on Moto X Pure Edition XT1095
- Download and extract the ADB file on your computer and you will see the following files:

Droid Views - Download and copy/move the OTA update zip, Blur_Version.21.21.42.victara_tmo.tmo.en.US.zipto the same folder which contains the extracted ADB files.
- Plug-in your Moto X to computer via USB cable and ensure it is detected. When a popup on Moto X screen prompts you to Allow USB debugging, just hit OK to confirm.
- Go to the fastboot files folder and launch command prompt inside the folder by pressing Shift key and Right clicking in the empty space, and then choose Open command window here option from the Windows context menu.
- Ensure that you are running the installation on unrooted device with stock recovery.
- Boot your phone into recovery mode with the following command:
adb reboot recovery
7. In recovery mode, navigate to apply update from ADB option using the Volume down button and choose it using Power button.
8.Then execute the following command to install the OTA update.zip via ADB Sideload:
adb sideload Blur_Version.21.21.42.victara_tmo.tmo.en.US.zip
9. As the OTA update has a large file size, the flashing process may take longer than expected. Wait until the flashing is completed before you disconnect the device from computer, else you may end up with a bricked device.
10. Reboot the device from main menu, once the installation completes.
The first boot may take some time as the device will configure new settings for Android Lollipop. So, do not abruptly shut down or restart the device and be patient until it boots.
© Copyright IBTimes 2025. All rights reserved.


