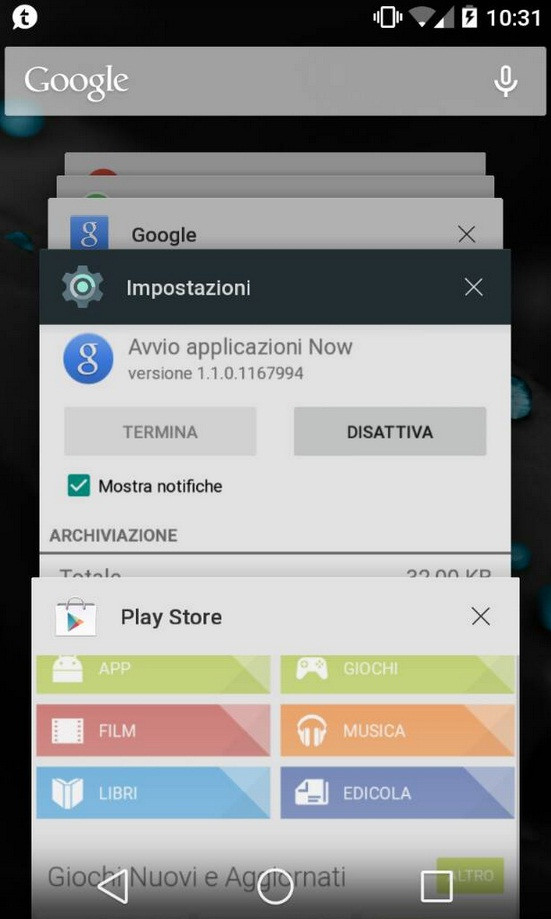
Nexus 4 Gets Android 5.0 Lollipop Developer Preview Port from Nexus 5

The Nexus 4 has received the port for Android 5.0 Lollipop Developer Preview image.
Google recently made the Android Lollipop Software Development Kit available with the final APIs, allowing users to test apps and new features of the latest Android version.
Although the final version of Android Lollipop will be available for Nexus 4, Nexus 5, Nexus 7 (2012 and 2013), Nexus 10 and Google Play Edition devices in the coming weeks, the Developer Preview system images have been released for only two Nexus devices such as Nexus 5 and Nexus 7 2013 Wi-Fi variant.
While Google is yet to confirm a date for the roll-out, senior XDA member percy-g2 has shared the preview image alpha build for the fourth generation Nexus smartphone, codenamed Mako. Head over to the development thread to know more about the port.
This is an alpha build and the member has not tested it yet, hence bugs are likely. Still if you are curious to give it a try, follow the installation guide. As the Preview file for Nexus 4 is a recovery flashable zip, it can be installed on the device using custom recovery, noted Android Soul.
IBtimes UK will not be held liable for any damage to the device. Ensure that you have backed up all data of the phone before flashing the preview image.
Download: Android 5.0 Lollipop preview image for Nexus 4
File name: mako-lpx13d-alpha-preview.zip
How to install Android 5.0 Lollipop Developer Preview Image on Nexus 4
Step-1: Place the downloaded file into the internal storage of the phone
Step-2: Reboot the phone into recovery-CWM or TWERP. To do so first switch off the phone then press and hold Volume Up, Volume Down and Power buttons together. Release all buttons when Bootloader/Fastboot menu appears. You should also see the Start button on the screen. Now press the Volume Up/Down button until the Start text changes into Recovery Mode. Then press the Power button to boot into Recovery Mode
Step-3: In recovery mode, perform wipe date/factory reset then select Yes on the next screen to confirm the action. Once the action is completed return to the main recovery menu
Step-4: Select mount and storage >>format system and click Yes on the next screen to confirm
Step-5: From the main recovery menu go to advanced and select wipe dalvik cache and click Yes to confirm the process. Then go back to the main recovery menu
Step-6: Select install zip >> install zip from sdcard then select the downloaded zip file and confirm installation. Wait for some time until the process is completed
Step-7: Select wipe cache
Step-8: Select advanced>> wipe dalvik cache
Step-9: Go to the recovery menu and select Reboot system now to reboot the phone. The first boot might take up to 10 minutes
The Nexus 4 should now be running Android 5.0 developer preview image.
© Copyright IBTimes 2025. All rights reserved.


