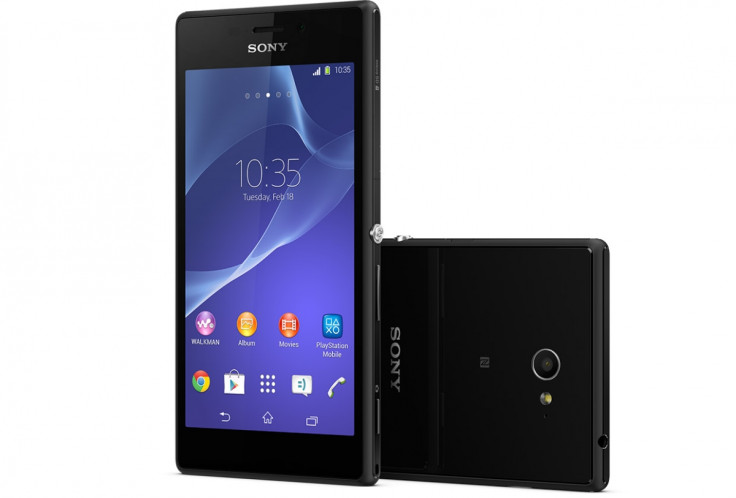
Root Xperia M2 on Stock Firmware and Install ClockworkMod Recovery 6.0.4.6

The Sony Xperia M2 (single-SIM) can now be rooted in simple steps, thanks to the release of ClockworkMod based Touch Recovery (6.0.4.6) and rooting tool by XDA recognised developer, DooMLoRD.
As reported by XDA developers, the key requirement to install CWM recovery is to ensure bootloader is unlocked on the device. Those who wish to root their Xperia M2 running stock firmware can follow our step-by-step guide given below.
IBTimes UK reminds its readers that it will not be held liable for any damage to device during or after the root installation. Users are advised to proceed at their own risk.
Pre-requisites
1. Install necessary USB Drivers for Xperia M2 on the computer.
2. USB Debugging Mode should be enabled on the phone by navigating to Settings >> Developer Options.
3. Back up your important data to avoid potential data loss during root installation.
4. Ensure the phone is factory unlocked (not locked to any specific carrier) and its bootloader must be unlocked.
5. Verify Xperia M2 has at least 80 percent battery charge.
6. Ensure a working fastboot utility and a stock firmware is already installed on the phone.
7. The rooting tool provided in this guide is only compatible with Xperia M2 D2305 (Single-SIM). Do not attempt installing it on incorrect variants as it may brick the device. Verify the model number of the Galaxy Note 2 by navigating to Settings >> About Phone.
Downloads Required
Advance Stock Kernel with Recovery v01 (FW: 18.0.1.1.30)
How to Flash Kernel via Fastboot
- Download the kernel image with recovery tool from above link.
- Save the boot.img file to the folder containing fastboot binary.
- Reboot the device from fastboot
- Let the device boot into the home screen
- Flash the .img file using fastboot command: fastboot flash boot boot.img
Note: When you see the Sony logo and the LED light turns pink/amber/orange keep tapping/pressing VOLUME DOWN key to enter recovery mode.
How to Root Xperia M2 D2305 and Install CWM Recovery
- After the kernel has been flashed via fastboot, copy the downloaded SuperSU file to the SD card on your handset.
- Reboot the phone into recovery and flash the SuperSU update.zip.
- Now reboot the device from recovery into Android OS.
- You should now have access to SuperSU apps and the device is rooted.
[Source: XDA]
© Copyright IBTimes 2025. All rights reserved.


