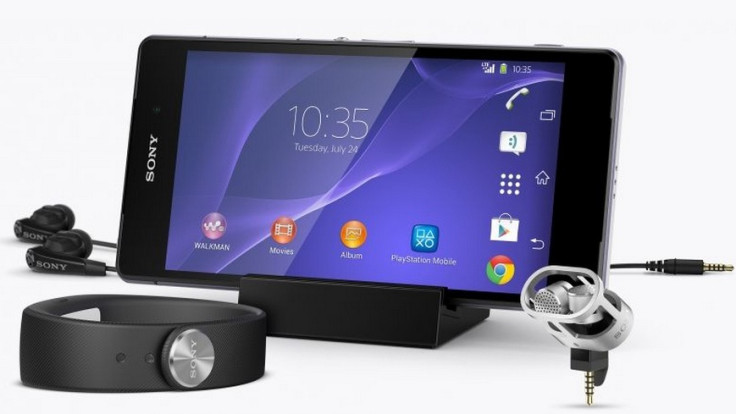
How to Root Xperia Z2 With Locked and Unlocked Bootloader

Recognised XDA developer DoomLoRD has achieved full root access on Sony's new Xperia Z2. Currently, the root supports only Windows.
Nevertheless, the developer has mentioned that support for Linux and Mac will be added in V2 of the rootkit, which is expected to be released soon.
One of the key features of the rooting toolkit is it works on both locked and unlocked bootloaders. The toolkit has been tested successfully on Xperia Z2 running 17.1.A.2.55 and 17.1.A.2.69. Head over to the development thread to know more about the rootkit.
Interested users, who wish to root their Xperia Z2, may follow our step-by-step guide.
IBTimes UK reminds its readers that it will not be held liable for any damage to the device. Before following the root method, users are advised to verify their handsets meet following requirements.
Pre-Requisites
- The Xperia Z2 should be running firmware version 17.1.A.2.55 or 17.1.A.2.69.
- Necessary USB drivers for Xperia Z2 should be installed on the computer.
- As the tutorial might wipe all data of the tablet, create a backup. If the device is having any custom recoveries such as CWM/TWRP installed, then back up data using the recovery.
- If the Android device powers off due to lack of battery during the process, it could damage the device. Therefore, the Xperia Z2 should have above 80% battery charge.
- The root toolkit works only with Sony Xperia Z2. Applying it on any incorrect variant is likely to brick the device. Verify the model number of Xperia Z2 navigating to Settings>> About phone>> Model number.
- Rooting the device will void manufacturer's warranty.
Steps to Root Sony Xperia Z2 With Locked and Unlocked Bootloader
Step-1: Download Xperia Z2 rooting toolikit, then extract the Zip using Winzip/Winrar to a folder on the computer
Download link: Z2-Community_RootKit-v01.zip
Step-2: Switch on USB Debugging and Unknown sources on the phone. Navigate to Settings>> Developer options >> check USB Debugging. Again go to Settings>> Security to select Unknown sources
Step-3: Switch off the Xperia Z2. Connect it to the computer using USB cable
Step-4: Double click the runme.bat file from the extracted folder created in step-1
You should see a screen saying Installing exploit app. Do not press any button. Let the programme run
Now you should see that the script is copying a big file
Step-5: Crash the Service menu on Xperia Z2. When you access the phone, you should notice the script has opened your Service Menu. Click on Service info>> Configuration and you should notice that the screen will blink. Then you will find Service Menu. At this moment, click any key on the computer to continue
When the process is successful, a screen will appear. Again the process is same as above. Crash the Service Menu and press any key on the computer to continue
Once the process is completed, a screen will appear saying, Removing exploit app which will disappear
Step-6: Disconnect the USB cable from the phone and reboot it once the script window disappears.
Now, your Xperia Z2 has been successfully rooted.
[Source: XperiaBlog]
© Copyright IBTimes 2025. All rights reserved.


