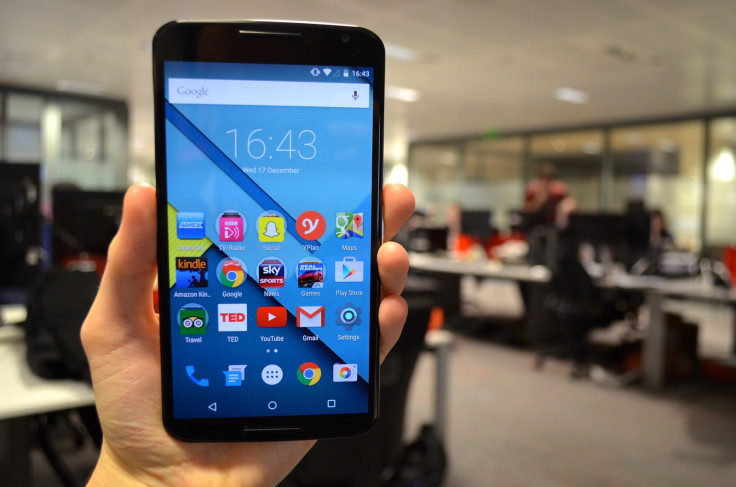
How to install stock pre-rooted Android 5.1.1 Lollipop LMY47Z firmware on Nexus 6

The latest release by recognised XDA developer, Danvdh, brings some good for Nexus 6 users. The developer has released a pre-rooted version of stock Android 5.1.1 build LMY47Z, which Google has recently made available for Nexus 6.
This stock firmware is rooted with SuperSU and contains Busybox and decrypted boot.img. Which means after installing the stock firmware, users will not have to start all over again to install root.
Features
- Complete stock experience
- Rooted
- Busybox
- Init.d
- Kernel will not force encryption
This rooted version works with Sprint, US Cellular and International models. Also, users will not have to flash Gapps separately, since this is a stock ROM.
Advanced users may head over directly to our guide to install the pre-rooted stock firmware on Nexus 6.
Important points
- Create a backup of all your important data as this process might wipe out everything. You can do so using any custom recovery on your Android device.
- Enable USB Debugging Mode on the phone to connect it with the computer and use Android SDK with it. [Go to Settings>> About phone. Scroll down to Build number, Tap seven times on the build number. The Developer options under Settings should appear now. You can now enable USB debugging mode.]
- The Nexus 6 should be having above 80% battery. Due to lack of battery charge, the phone might shut down during the middle of the process which in turn could damage the device.
- The booatloader of Nexus 6 should be unlocked.
- To install this custom build, your Nexus 6 should be running a latest custom recovery such as CWM or, TWRP.
- The pre-rooted Android 5.1.1 Lollipop stock firmware works with Nexus 6 codenamed Motorola Shamu only. Applying this on any incorrect variant might brick the device. Verify the model number of the smartphone by navigating to Settings>> About phone>> Model number and install firmware based on the mode number of the device.
- After the ROM is installed, leave the device for at least 10 minutes, before using it, for a better user experience.
- IBTimes UK will not be held liable for any damage to the device.
How to install stock Android 5.1.1 Lollipop LMY47Z pre-rooted firmware on Nexus 6
Step-1: Download Android 5.1 LMY47Z rooted ROM on your PC
Step-2: Connect the phone to the computer using the USB cable. Move the downloaded file to the internal storage of the phone. Keep the file in the SD card root folder, not inside any other folder
Step-3: Unplug the USB cable from the phone and switch it off
Step-4: Download TWRP recovery
Step-5: Enter recovery mode
Press Volume Down and Power buttons together, then release the Power button when the Google logo appears, but keep holding the Volume Down button. The phone will be in Bootloader Mode. Press Volume Down twice, the Recovery option will appear now. Press Power button to reboot into recovery mode
Step-6: In the recovery, create a backup. Select Backup then do a swipe on the Swipe to Back Up option
Step-7: Perform full wipe. Click on Wipe then Advanced Wipe and select Cache, System, Dalvik/ART cache and Data
Step-8: Once the process is completed, select Install then head over to the location where you have saved the pre-rooted ROM. Select it and swipe on the Swipe to Confirm Flash option
Step-9: When the installation process is completed, reboot the phone. Select Reboot then System
If you have doubt about the rooted stock firmware, hit the thread over XDA.
© Copyright IBTimes 2025. All rights reserved.


