How to root Galaxy Note 3 on leaked Android 5.0 Lollipop build N900XXUGBNL8 and install CWM recovery

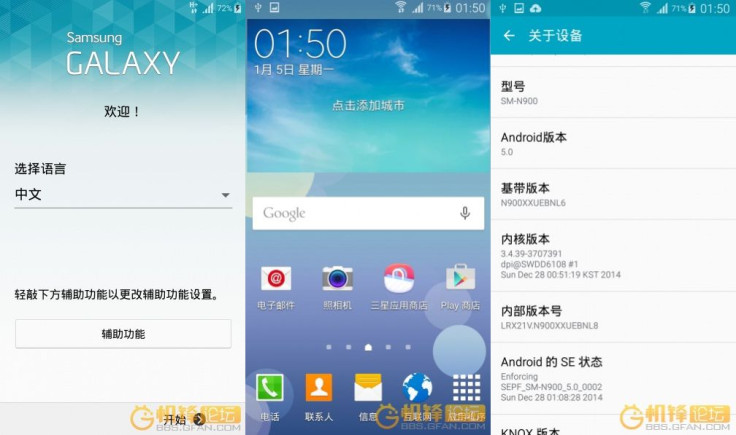
Recently, an Android 5.0 Lollipop stock firmware build N900XXUGBNL8 has been leaked for the Exynos 5 octa-core powered Galaxy Note 3 (SM-N900). The leak build posted by XDA member shinu-kou is reported to be a stable version with the screen and Bluetooth issues fixed without any external file flashing.
Now root method is also available for those who have flashed the leaked Android 5.0 firmware on their Galaxy Note 3. Besides, a compatible CWM recovery file is also available for the smartphone. Head over to the development thread to know more about the rooting.
Interested users can following the guide below to install root and CWM recovery on the Note 3 (courtesy of Droid Views).
Points to remember
- Ensure that you have installed necessary USB drivers for Galaxy Note 3.
- Enable USB Debugging Mode on phone to connect it with the computer and use Android SDK with it. [Navigate to Settings>> About phone>> tap Build number seven times. A pop up will appear, that reads, 'You are now a developer.' Go back to the Developer options and check USB debugging and click OK.]
- Create a backup of all data of the phone before following the root method.
- Check the battery percentage of the phone, it should be at least 80%.
- Rooting the device will void the manufacturer's warranty.
- The CWM recovery, CF-Auto-Root and the SuperSU files are compatible with galaxy Note 3 SM-N900. Applying these on any incorrect variant might brick the device. Therefore, check the model number of the phone by navigating to Settings>> About device>> Model number.
- IBTimes UK will not be held liable for any damage to the device.
Download files
How to root Galaxy Note 3 on N900XXUGBNL8 Android 5.0 Lollipop leaked firmware and install CWM recovery
Step-1: Extract the Odin package on your PC. Place the CWM recovery and the CF-Auto-Root files in the same folder where you have kept the Odin files
Step-2: Power off the Galaxy Note 3. Boot it into Download mode by pressing Volume Down, Home and Power buttons together for a few seconds until you see a warning screen. Use the Power button to confirm entering into the Download Mode
Step-3: Launch Odin on the PC
Step-4: Connect the Note 3 to the PC using USB cable
Step-5: Click the AP tab in Odin and select n900-cwm-recovery-6.0.5.0-kk_L5.0(0812).tar and confirm flashing
Step-6: After the recovery is installed, flash the CF-Auto-Root file following the similar method
Step-7: Boot the Note 3 into recovery mode
- First switch off the phone
- Press Volume Up, Home and Power buttons together
Step-8: Flash the SuperSU file using recovery mode.
(This is since flashing CF-Auto-Root only did not root the device.)
Step-9: Finally reboot the phone by selecting reboot system now from recovery
You can now enjoy your rooted Galaxy Note 3 with CWM recovery installed.
© Copyright IBTimes 2025. All rights reserved.


