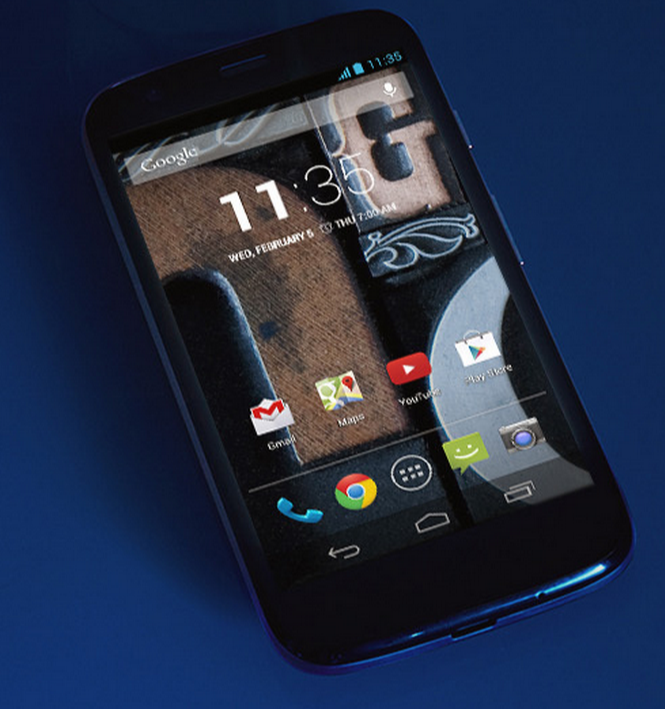
Moto G 2013 (1st Gen) receives Android 5.0.2 Lollipop OTA: How to install

Owners of Moto G XT1032 (1<sup>st Gen) aka Moto G 2013 are in for some good news, as Motorola has started rolling out the latest Android 5.0.2 over-the-air (OTA) update for its former flagship phone.
The new Lollipop update brings tons of improvements and feature enhancements including the new lock screen, enhanced notifications, Lollipop's native flashlight and new battery life indicator, along with some gorgeous Material Design UI improvements.
As the update is likely to be rolled out in a weekly phased manner, it may not yet be available for OTA download across all countries in the world at the same time.
Hence, those who cannot wait for the official OTA release may go ahead and install the same manually, using the direct download links provided below. Alternatively, you can check for the update manually via Settings > Software Update.
IBTimes UK reminds readers that it will not be liable for any damage to device during or after the Lollipop OTA firmware installation. Users are advised to proceed at their own risk.
Downloads Required
Android 5.0.2 Lollipop OTA for Moto G 2013
Note: As this is an incremental update, you must be running the latest stock KitKat firmware in order to be able to install the new Android 5.0.2 update or else you may risk bricking your device.
Pre-requisites
- The instructions and the OTA zip files provided in this guide are meant for the Moto G 2013 with model number XT1032. Do not attempt installing this firmware on any other model or you may risk bricking the device
- Ensure the device has more than 60% battery charge to prevent unexpected device shutdown leading to corrupt partitions, during the OTA firmware installation
- Back up important data and settings on the device before you proceed
- Copy the downloaded OTA files to your phone's internal SD card
Steps to Install Android 5.0.2 Lollipop OTA Zip on Moto G 2013
Step 1: Power off the phone and wait for a few seconds until it shuts down completely
Step 2: Press and hold Volume Up, Volume Down and Power keys together until the bootloader or recovery mode screen appears
Step 3: Hit the Volume Down key to highlight the Recovery option and then select it by tapping the Volume Up key
Step 4: A warning Android logo will appear in the middle of the screen
Step 5: Tap the Volume Up and Volume Down buttons for around five seconds. Now while holding the two buttons, press and release the Power button
Step 6: Your device will now boot into stock recovery mode and display "Android System Recovery" at the top of the screen
Step 7: Next select "apply update from sdcard"
Step 8: Then go to the downloaded file and select it
Step 9: Wait for the installation to complete and follow onscreen prompts to reboot the phone
[Source: XDA]
© Copyright IBTimes 2025. All rights reserved.


